The MIC at CPL: Candy Making Workshop!
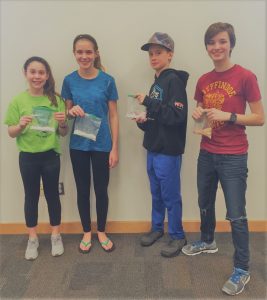
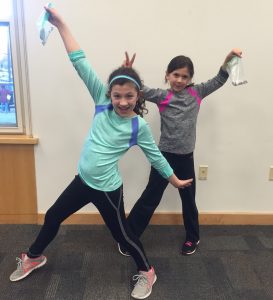
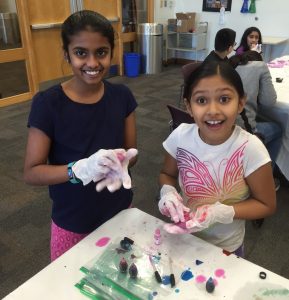
This week at the Main Library and at the MacKay branch we held our first meetings of the MIC (Make It! Club)! We celebrated by making one of my favorite things: candy. Everyone customized their own batch by combining up to five of twelve flavorings: cherry, coconut, green apple, lemonade, orange cream, peach, pear, pineapple, pomegranate, strawberry-kiwi, watermelon, and tropical punch. The best part? It tastes great, and it’s easy to make at home! Here’s how we did it.
 Instructions:
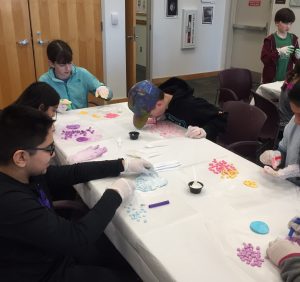
Step 1: Take a sheet of wax paper and lay it out, then dust the surface with a little bit of powdered sugar (just enough so that your candy won’t stick to the surface).
Step 2: Pull off a piece of gum paste about the size of a golf ball, and knead it until it’s soft.
Step 3: Punch your thumb into your ball about halfway to make a well, and then put five drops of any flavor (or a combination of two or three flavors) into the well. Next, add two drops of food coloring to add color to your candy. Last, add five drops of vegetable oil.
Step 4: Knead your candy again, and keep kneading until the color and flavor are even throughout the mixture.
Step 5: Pull off a bit of your candy and taste it—if it needs more flavoring, add another drop and repeat step 4. Do the same with the food coloring. Doesn’t look right? Add more color!
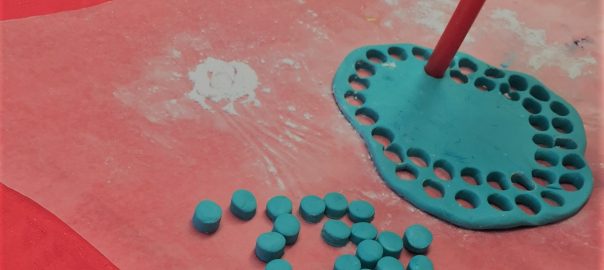
Step 6: Flatten out your candy on your wax paper until it’s about ¼ of an inch thick.
Step 7: Use your straw to punch out your candy! You can also use a knife if you want to try to make other shapes.
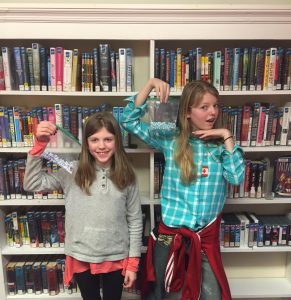 Step 8: Put your candy into a plastic bag, toss it with just a bit of powdered sugar so they don’t stick together, and wait for them to harden overnight.
Step 9: Enjoy your candy!
At the MIC, you’ll be able to make and take home an awesome DIY project, snack, or dessert. Don’t worry if you missed us this time. We’ll be meeting every month with a new DIY!
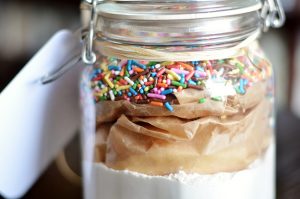 Next month, we’re making Cookie Mix Kits. Customize your cookies with different add-ins like chips and sprinkles! It makes a great gift… Or you can take it home and treat yourself, instead! We’ll be meeting on Wednesday, March 8th at the MacKay branch and Thursday, March 30th at the Main Library. This program is drop-in, so no need to sign up.